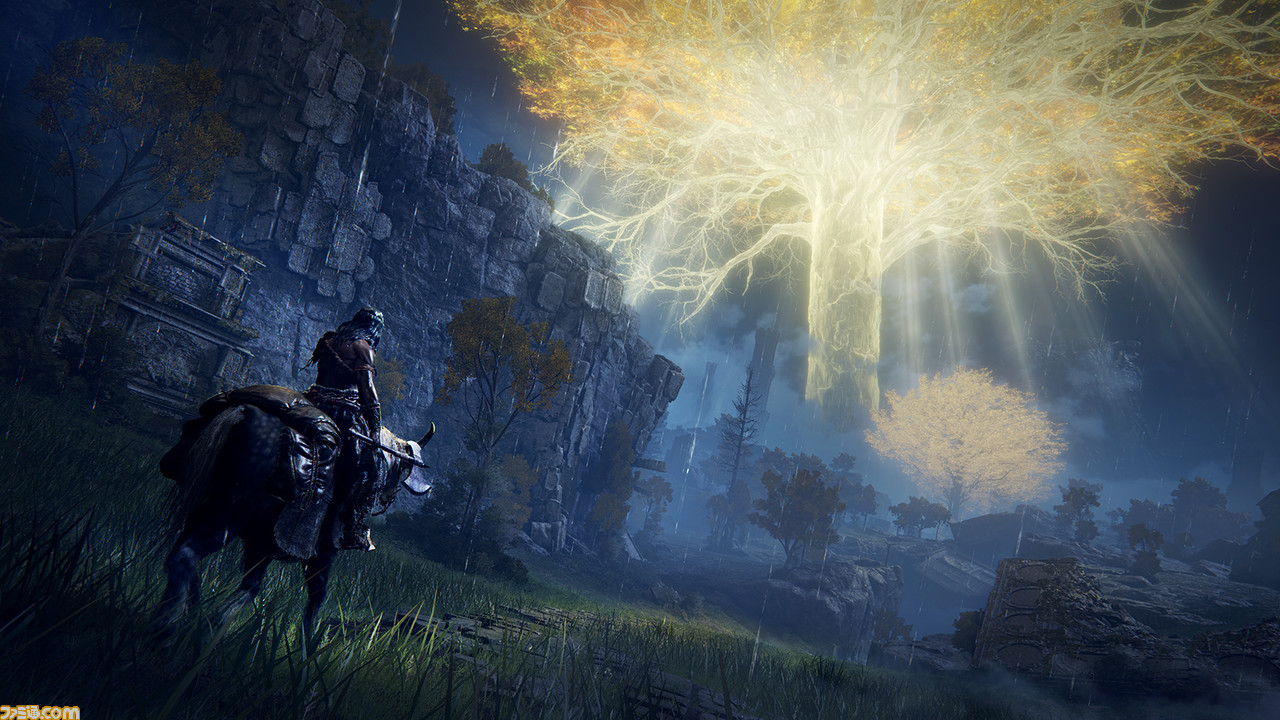
On February 25, 2022, "ELDEN RING" was finally released.
At last, all the tarnished have opened the door to the "heroic tale" of becoming the Elden Lord, but the journey is not a smooth one, and it is not easy. In this article, we will explain the basic game system that you need to understand in the early stages of the game.
-
Main operations you need to remember
- Dash (PS: ○ button / XB: B button)
- Target Fixation (PS: R3 button / XB: R-stick button)
- Right-handed weapon action / Normal attack (PS: R1 button / XB: RB button)
- Right-handed weapon action / strong attack (PS: R2 button / XB: RT button)
- Left-handed weapon actions / normal attacks, guards, etc. (PS: L1 button / XB: LB button)
- Left-handed weapon actions/skill, etc. (PS: L2 button / XB: LT button)
- Switching weapons
- Guard Counter
- Dash (PS: ○ button / XB: B button)
-
How to use the map
-
Characteristics of various items
-
Basic knowledge to remember
Main operations you need to remember
The following is a list of basic controls that you need to learn in order to start your adventure. You can learn the basic controls in the tutorial, which is available at your option after you start the game. If this is your first time playing the game, be sure to learn them.
The controls can be found in the system section of the main menu. If you want to change the layout of the buttons, you can do so in the button settings.
Dash (PS: ○ button / XB: B button)
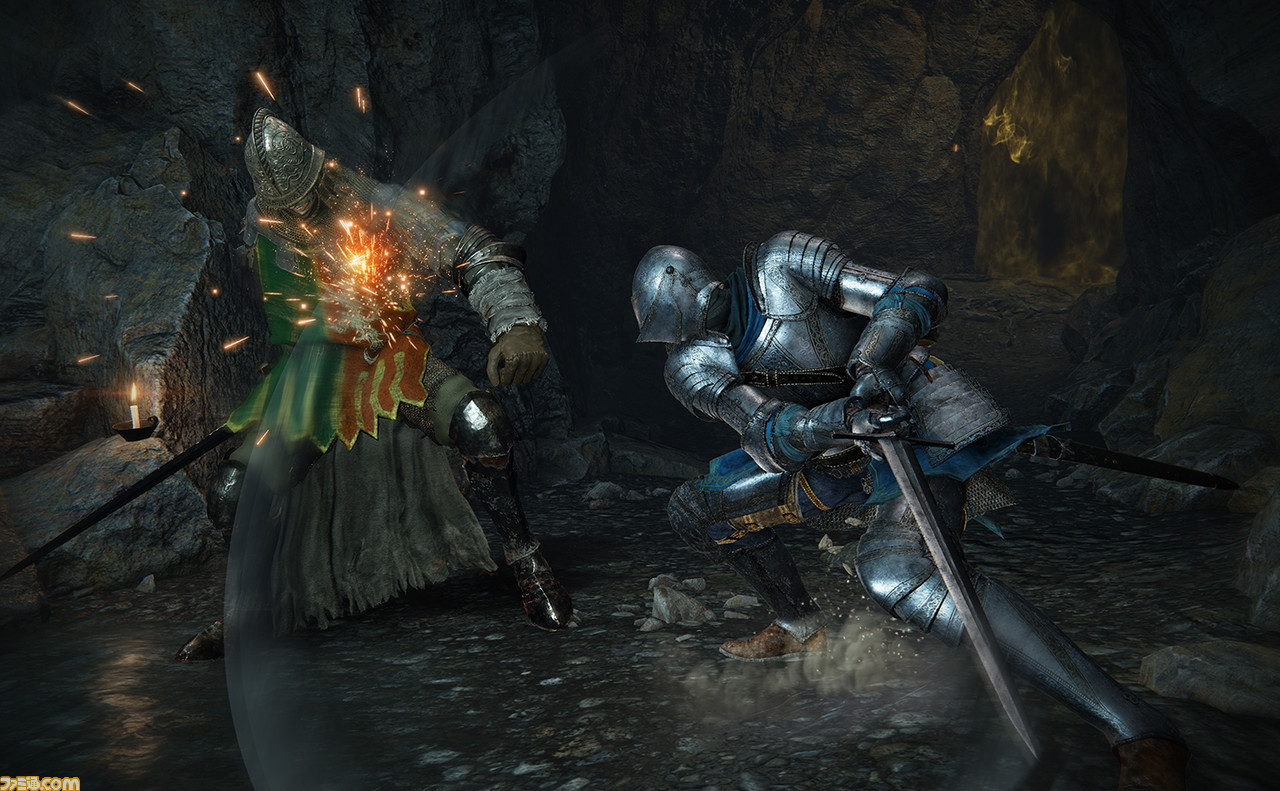
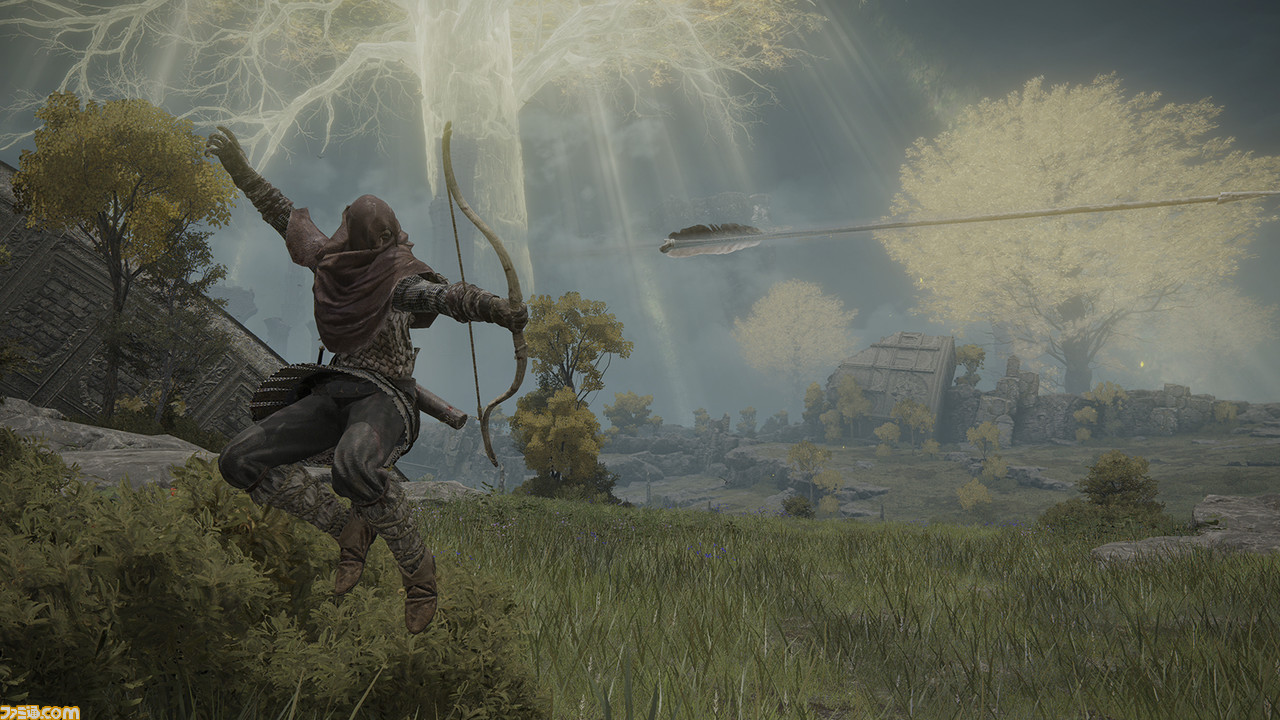
An action to move while running. If you haven't encountered any enemies (i.e. no enemies are nearby or have not been spotted), you can run without consuming any stamina, so don't worry about running around while exploring. In battle, dash will reduce your stamina, so make sure you have enough stamina left for attacks and guarding. This button is also used for evasive actions such as backstep and rolling.
Target Fixation (PS: R3 button / XB: R-stick button)
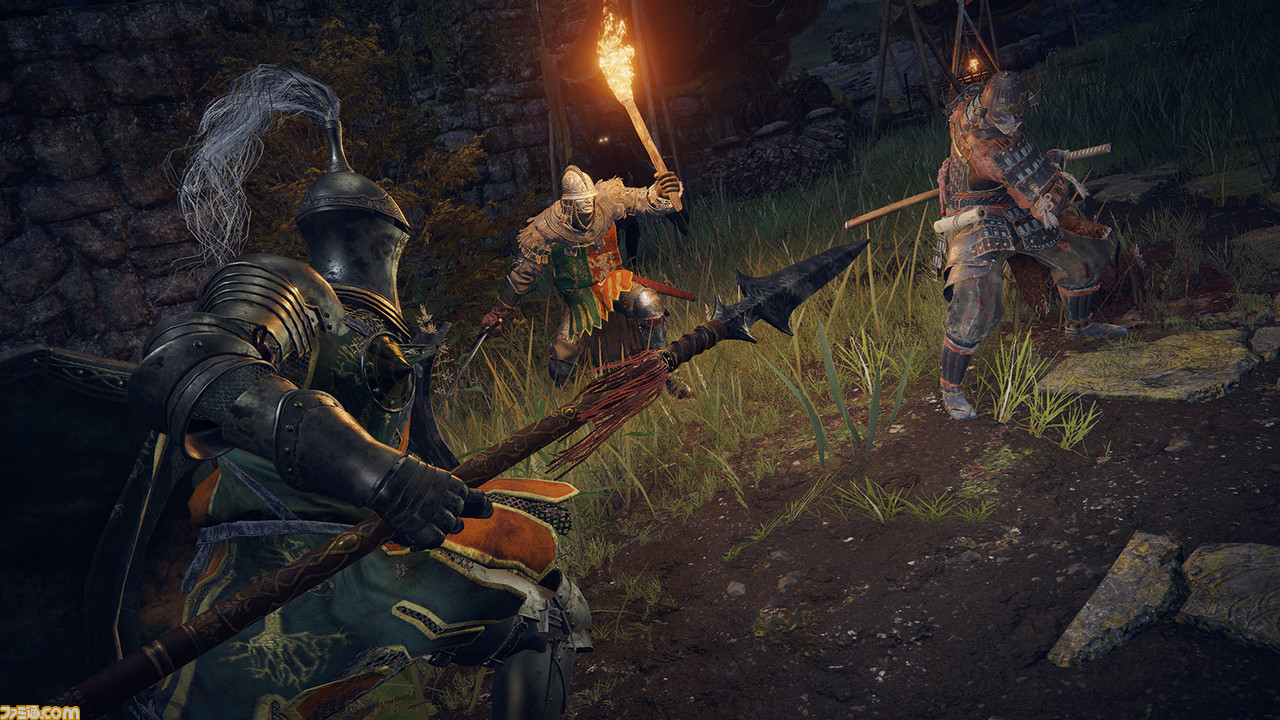
When fighting an enemy, it is essential to lock on to the target as soon as possible. In addition to always keeping the enemy in front of you, attacks will be launched in pursuit of the enemy to a certain extent. You can change your target by moving the right stick left or right, but don't get confused if you're facing multiple enemies.
Right-handed weapon action / Normal attack (PS: R1 button / XB: RB button)
This button is used to perform normal attacks with your right hand. Depending on the type of weapon, most of the normal attacks are relatively quick and easy to use. This button is also used when you want to use both hands on the weapon, or to activate magic or prayer. This button is also used to unleash the "fatal blow" (see below), which is the key to the attack.
If you want to use both right-handed weapons, you can switch between one-handed and two-handed by pressing the right-hand weapon action button (PS: R1/R2 button / XB: RB/RT button) while holding down the button (PS: △ button / XB: Y button). If you want to double-handle a left-handed weapon, just press the left-handed weapon action button.
Right-handed weapon action / strong attack (PS: R2 button / XB: RT button)
An action that unleashes a strong right-handed attack. You can also unleash a strong attack when holding a weapon in both hands. Strong attacks are generally slower, but many of them are very powerful. Also, depending on the weapon, the attack may be a range attack or a ramming attack, which can easily show the characteristics of the weapon. Pressing and holding the button for a while will make the attack more powerful.
Left-handed weapon actions / normal attacks, guards, etc. (PS: L1 button / XB: LB button)
If you have a weapon in your left hand, you can unleash an attack; if you have a shield, you can take a guard stance. It is also used to release sorcery and incantation. If you have a two-handed weapon, you will take a guard stance with your weapon. The role of this button changes depending on whether you are using two weapons, a two-handed weapon, or a shield, so use it according to the situation.
Left-handed weapon actions/skill, etc. (PS: L2 button / XB: LT button)
This button is mainly used to launch skill. Basically, if you have a shield equipped in your left hand, the shield's maneuvers will take priority, and you can use "parry" to repel enemy attacks. If you use two-handed weapons or remove the shield from your left hand, you will be able to use the battle techniques of your right hand weapon. It's a lot of work to change your weapons when you're in the middle of a battle, but you'll get used to it and it'll become second nature to you.

Switching weapons
There are three types of weapons: one-handed, two-handed, and two-handed. As explained above, you can change between one-handed and two-handed by holding down the action button and using the various weapon action buttons. The action differs greatly depending on the weapon, for example, lighter weapons can be handled quickly with one hand, while heavier weapons tend to have a skittish motion with one hand.
Guard Counter
If you unleash a right-hand weapon action (strong attack) after successfully guarding against an enemy attack with your shield, etc., a guard counter will be triggered. It will trigger even if some time has passed since the successful guard, but not if it is too late. However, the timing is not too difficult, and simply guarding can lead to powerful attacks, so get used to the controls early on.
How to use the map
The map, which is essential for adventuring in the Lands Between, can be viewed by opening the map menu. The map is almost empty when you start the game, but it becomes more detailed as you acquire "map fragments".
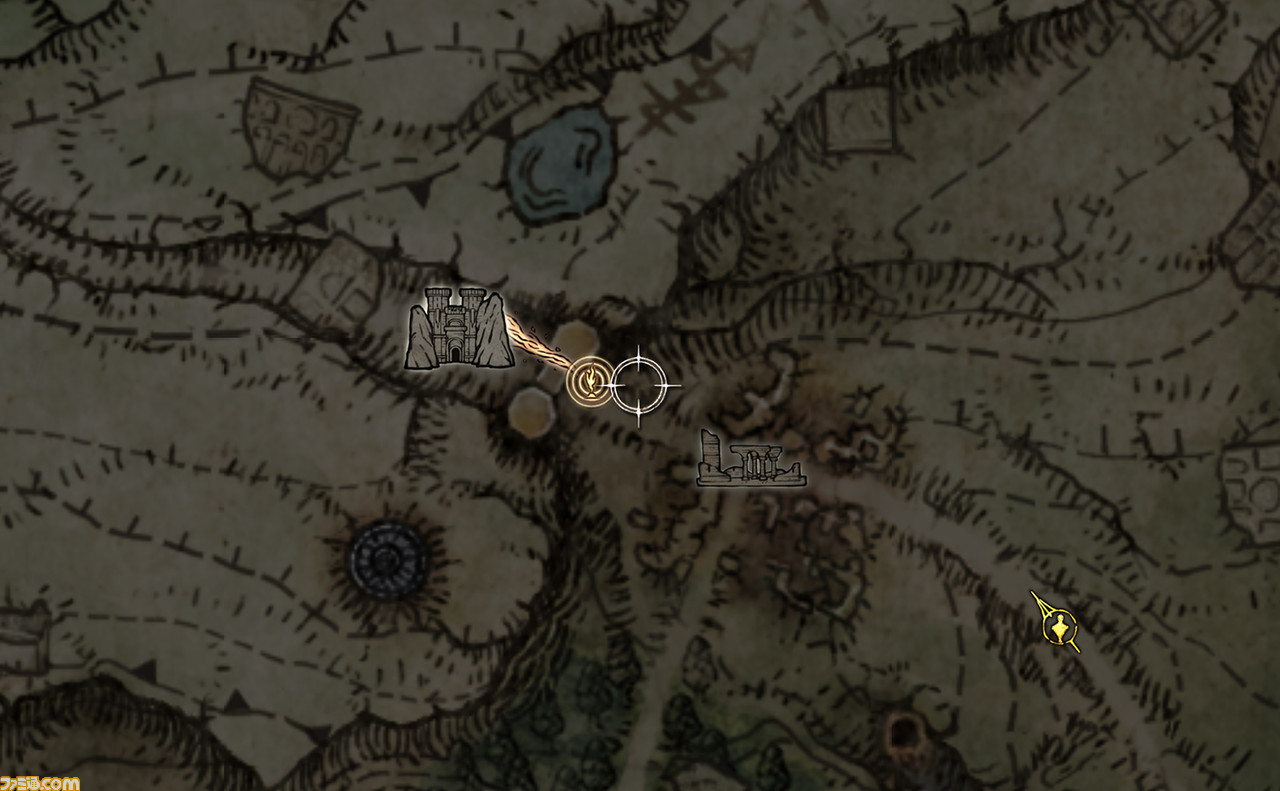
The Lands Between is so vast that it is not recommended to explore it without utilizing the map. Whenever you visit a new area, be sure to prioritize obtaining the map fragments to get around. The locations of the map fragments are not necessarily hinted at, but are placed at points where the map is slightly illuminated, so you can use them as a guide.
The following icons are mainly displayed on the map. Let's use them as a reference when exploring.
Current location
The current location of the player character. A large arrow indicates the direction the character is facing.
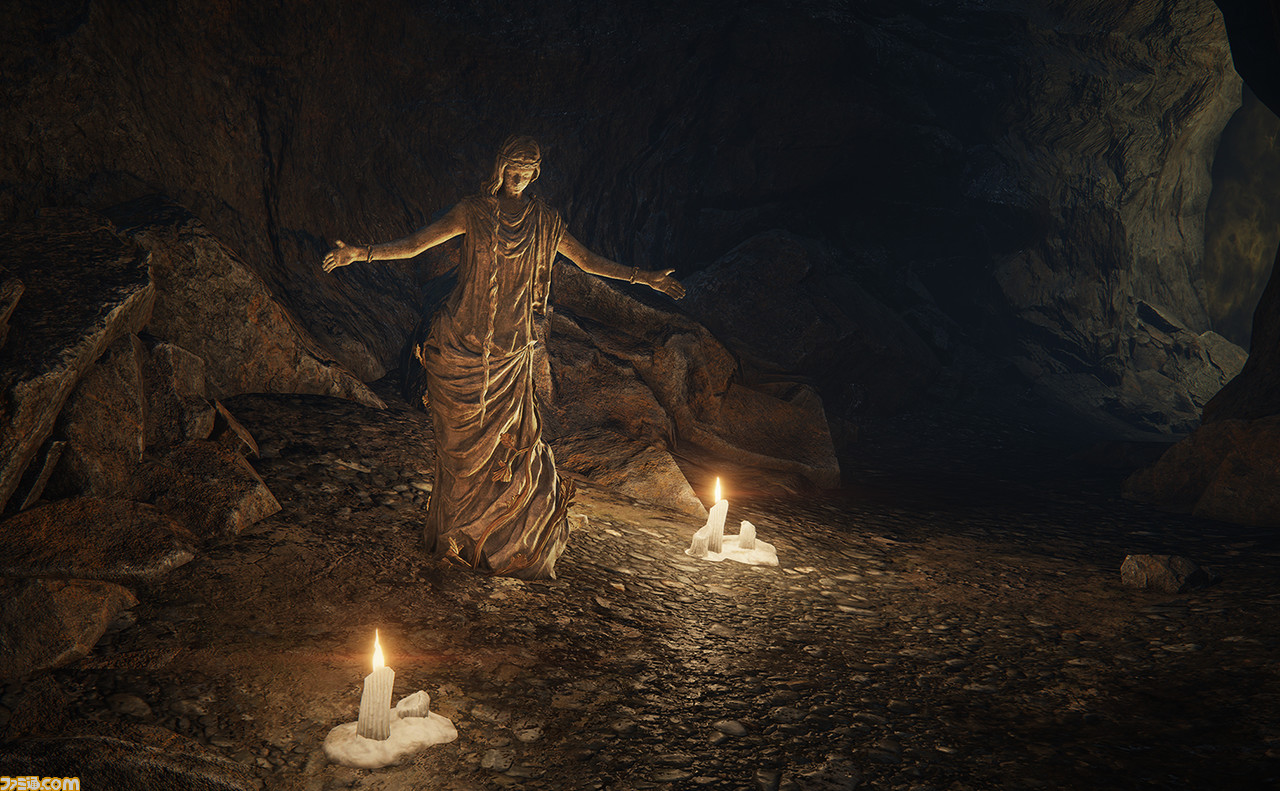
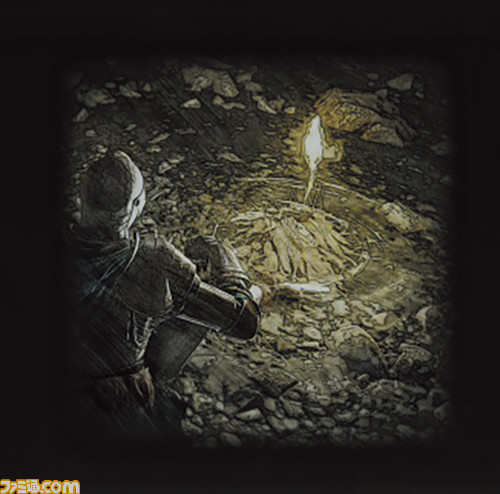
Site of grace
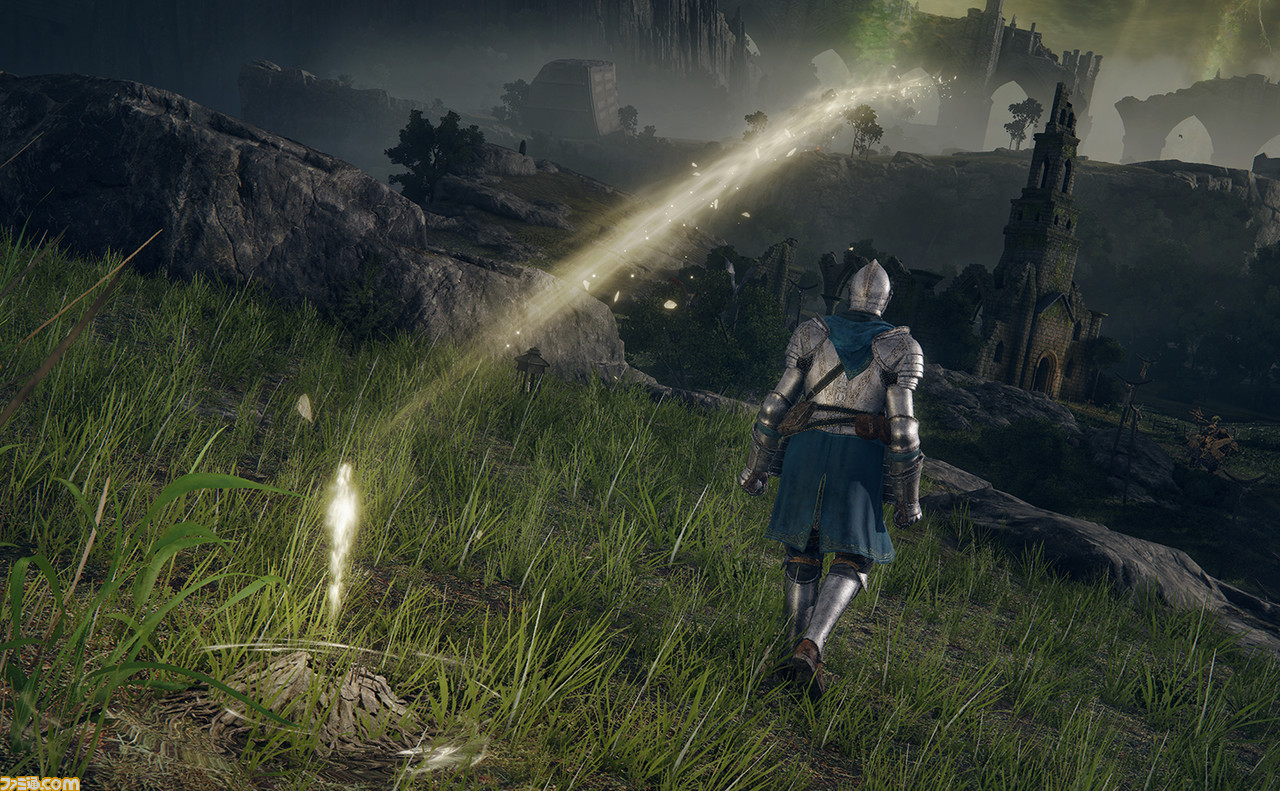
Indicates the location of site of grace that the player has touched. Sites of grace are like strongholds for tarnished, and are important places where many things can be done. Note that even if you find a site of grace, if you do not touch it, its location will not be recorded on the map.
Some of the site of grace emit "guidance of grace" like lines of light, roughly pointing out where the next site of grace or building is located, so refer to them when you get lost.
When you examine a site of grace, you'll be able to rest. Resting restores all of your HP and FP, and also restores the maximum number of times you can use the recovery item, the Flasks. However, keep in mind that when you rest, all defeated enemies will be resurrected, except for some big bosses. Also, fast travel is available for Sites of grace that are released from the map screen. However, fast travel may not be available during battle or in some dungeons.
The main things you can do with blessings.
- Kill time: Skip the current time until morning, noon, or night.
- Level up: Spend a rune to increase your character's level.
- Flask: Increase the number of flasks and the amount of recovery, and allocate the bottle's usage limit
- Memory: Set sorcery and incantation in the memory slot.
- Blend wondrous physick: Use crystal drops to blend wondrous physick for the "flask of wondrous physick".
- Organize crates: Storage for your items. If you have more items than you can hold, they will be placed in the crate.
- Ash of war: Use ashes of war to add skills and attributes to your weapons.
- Clothes adjustment: Change the appearance of some armors from their normal state.
Building
Indicates the location of structures such as churches, towers, and underground tombs that exist in the Lands Between.
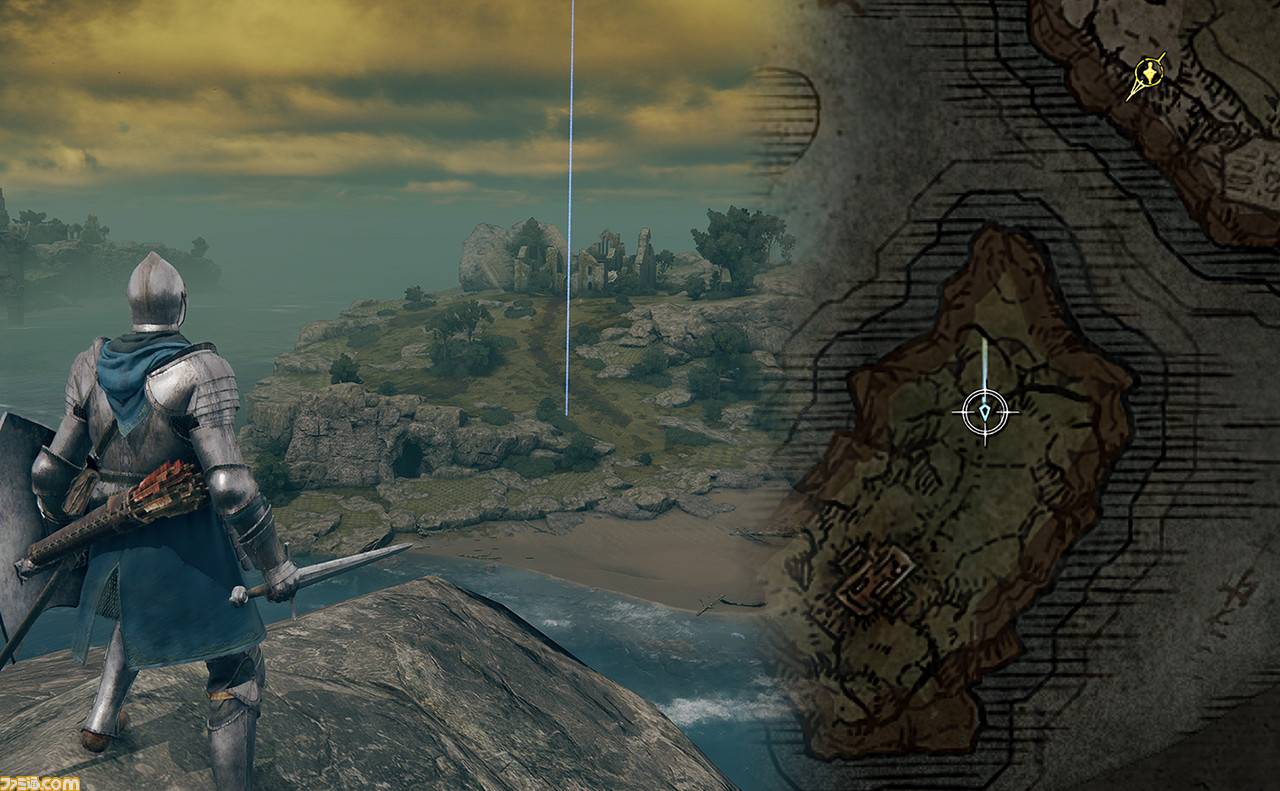
Light pillar
Indicates the location of a light pillar placed by you. The light pillars are visible on the field, so they can easily be used as landmarks for movement. Up to five light poles can be placed on the map, and the first one will disappear if more than five are placed.
Apart from the light pillars, markers can be placed on the map. Unlike the light pillars, you can't see where they are on the field, but they are icons of weapons, skulls, treasure chests, etc. You can place up to 100 of them. It's up to the player to decide how to use them. For example, you can place them in the locations of frequently used materials, strong enemies, or places where you want to explore more.
Dropped Runes
When you die, runes will be dropped at the location where you died, but an icon will be displayed on the map to show where the dropped runes are.
If you die, you will basically be resurrected at the last site of grace you visited. In some locations, there is a point called "Stake of Marika," and if stake is nearby, the player can choose whether to revive at site of grace or near stakei.
The landmark of "Stake of Marika" is a large statue. They are often placed in difficult places, such as places far from site of grace or near strong enemies. They are somewhat difficult to find, but when you approach the location, an icon will appear on the screen to help you spot them.
If you die again without recovering the runes you dropped, all the runes you dropped will disappear, so be careful and don't panic. Also, be aware that when you are resurrected, some of the enemies you have defeated will be resurrected.
Characteristics of various items
In the inventory of the menu screen, you can check various items. You can check the detailed effects of each item by switching the information display, and you can also read the flavor text prepared for each item. This flavor text can be an important "part" of the story, so don't forget to check it out when you get a new item.
You can also check the details of ashes of war and spirit ashes in your inventory as you progress through the story.
Tools
In addition to items that heal HP, FP, and other items, there are a variety of tools available, such as those that make you less susceptible to abnormal conditions. In addition to consumable items, there are also some items that can be used repeatedly.
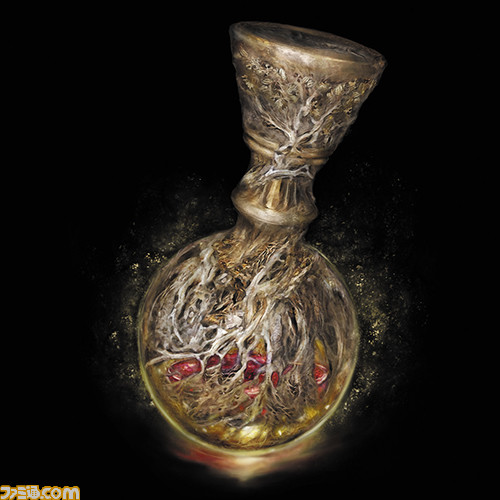
The most important tools are the Scarlet Drop Chalice, which restores HP, and the Blue Drop Chalice, which restores FP. As mentioned earlier, the number of times you can use these tools is restored by resting in the Blessing, but you can also restore the number of times by wiping out certain groups of enemies or defeating the "Shizuku Scarab". To increase the number of times you can use it, you need the material "Golden Seeds," and to increase the amount of recovery, you need the material "Grail Drops. If you don't care about FP, you can use all of them in the "Scarlet Drop Chalice". If you don't care about FP, you can use all of them in the "Chalice of the Scarlet Drop".
Materials
There are materials that can be used to make items or to strengthen them. They can be obtained by defeating enemies or by exploring the field, and there are various types and ways to obtain them. Collect as many as you can as you explore the various locations. If you want to collect as many items as possible, you can try strengthening the arcane ability value to increase your discovery. Also, don't forget to organize your items with a site of grace, as they will automatically be sent to the crate even if you exceed your inventory limit when you get them.
If you purchase a "crafting kit" from the merchant you meet at the beginning of the game, you will be able to manufacture various items by consuming materials from the menu screen. You can make items that are useful in battle, but to make them, you must obtain a "cookbook" that contains recipes. You can buy them from merchants or find them while exploring.
The items you create will be useful, but they may require a certain amount of materials, so be sure to collect materials as you explore to avoid panic when you need them. In the field, you can create items at any time except during battle, so you should first improve your manufacturing process.
Valuables
Items that can be obtained by progressing through the story or completing certain events. You can't throw them away by yourself, and many of them are basically the keys to the story. crafting kit, cracked pot, and map fragments are also considered valuables. There are some items and places that cannot be opened without valuables.

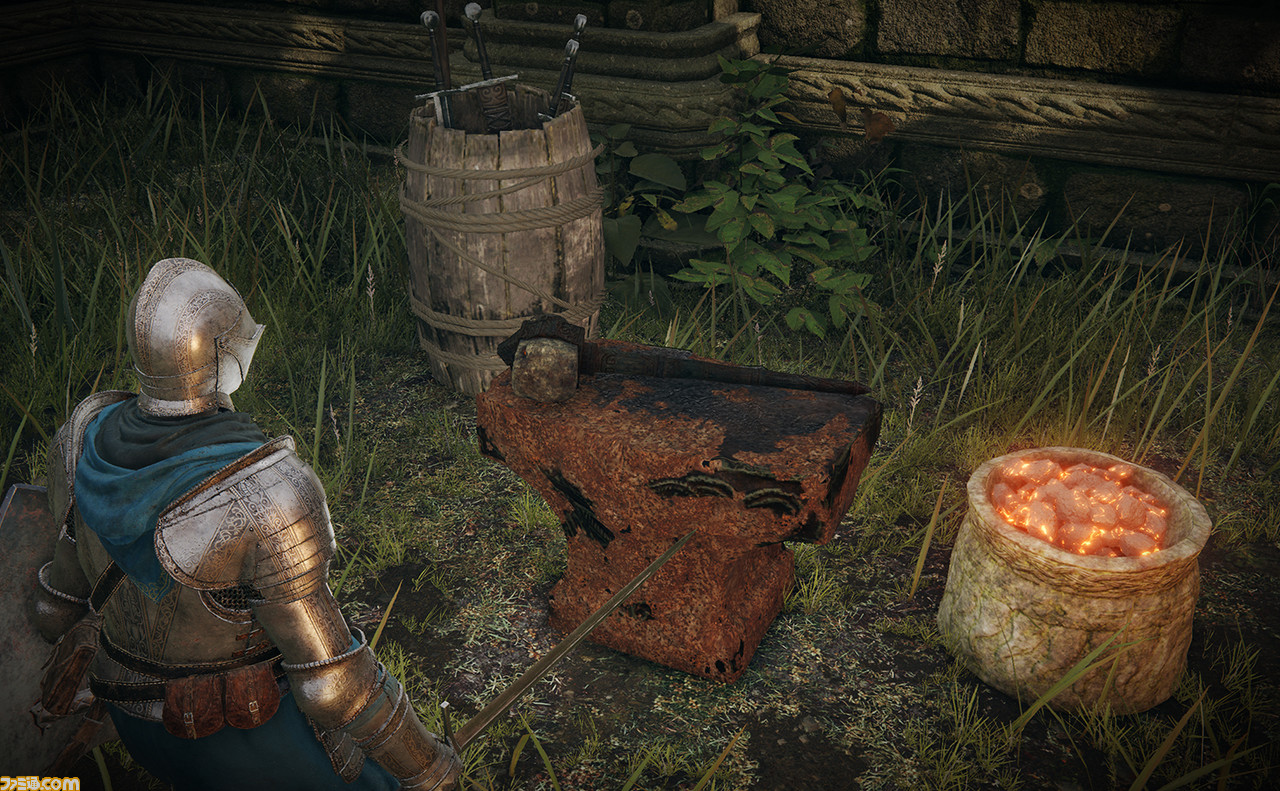
You can strengthen weapons, shields, and long range weapons at the forge by consuming the ore material item "smithing stone" and a certain amount of runes. As you progress through the adventure, you'll meet a certain person who will allow you to further increase the enhancement value.
The more you strengthen your equipment, the stronger it becomes, but the more runes you'll need, so think carefully about how you use your runes. Smithing stones are often found in caves, tunnels, dungeons, and rocky areas, so search carefully to make sure you don't miss any!
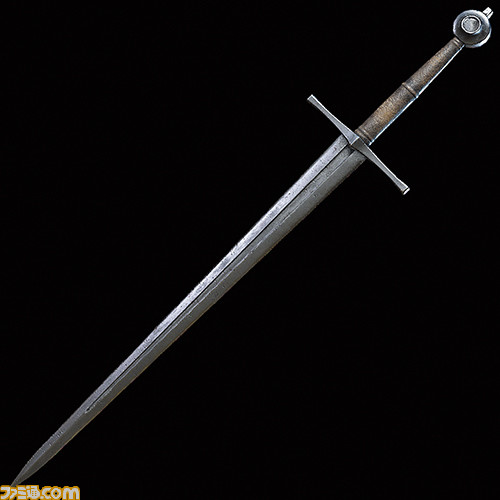
Weapons
You can see the melee and long-distance weapons the player can equip. There are several categories of melee weapons, such as straight swords, spears, and axes, and several types of long-distance weapons, such as longbows and crossbows.
You can equip three types of weapons in your right and left hands, including a shield. Basically, you should choose a weapon with a balance that will allow you to deal with any situation that may arise. You can switch between the weapons in your left and right hands by using the left and right directional keys. You'll want to get used to the controls as soon as possible so that you can respond instantly.
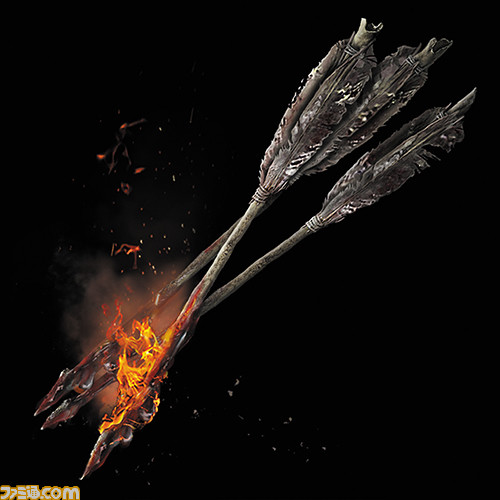
Arrows and bolts
Items required for long range weapons. Arrows are used for bows and bolts are used for crossbows. Different arrows and bolts are required for more advanced long range weapons. There are various types of arrows and bolts, such as fire arrows, that can be selected according to the situation. The main way to get them is by making items, but they are inexpensive, so if you have enough runes, you can buy them.
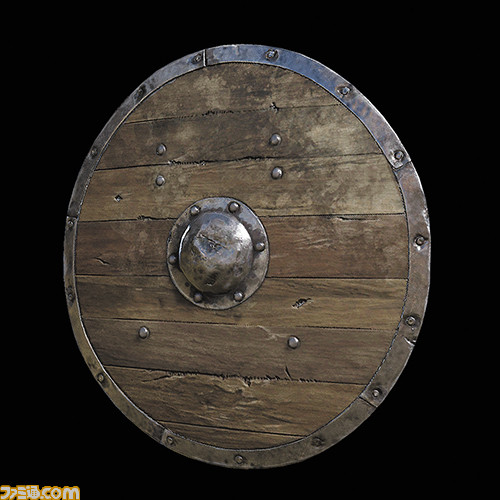
Shield
Equipment that guards against attacks and reduces the damage you take. The size of the shield also affects its performance, so choose the one that best suits your surroundings. Torches, which are indispensable when exploring caves, fall into the shield category.
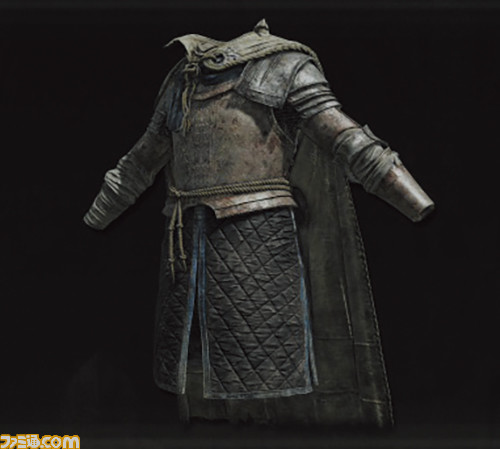
Armor
Armor is divided into four sections: helm, chest armor, gauntlet, and leg armor. When equipped, it changes the damage reduction rate and the resistance value against status ailment. There are also armors that have effects on status. Armor also weighs a certain amount, and as the total weight of the weapon and armor together approaches the equipment weight limit, your actions will be affected. If you want to increase your equipment weight limit, you should strengthen your endurance.
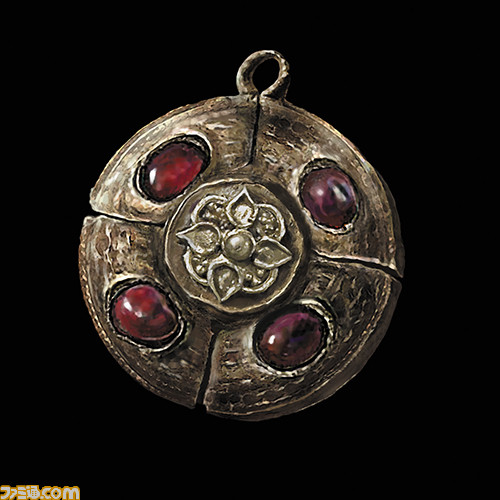
Talisman
Talismans are so-called accessories that provide a variety of effects at all times just by equipping them. The number of talismans you can equip is limited at the beginning of the game, but as you progress through the adventure, you can equip up to four at once. They have powerful effects, so don't forget to equip them when you find them.
Information
You can check the text you get from stores and other places, as well as the text you can read from valuable items you find while exploring. You can learn information about enemies, their backgrounds, and weaknesses that are not explicitly mentioned, so it's a good idea to check them out when you get something. You can also view the text of the tutorial, so if you want to go over the game system, you can do so here.
Basic knowledge to remember
In addition to the elements I've described so far, there are many other elements that intertwine in this game and make the adventure even deeper. Let's take a look at the detailed elements and systems that are useful and should be remembered when you get used to the adventure.
Equipment weight
There is an upper limit to the weight of your equipment, and the closer you get to this limit, the less effective your evasive maneuvers (rolling and backstepping) become. The closer you get to the upper limit, the worse your evasive maneuvers (rolling and backstep) will be. If you exceed the upper limit, your movement speed will also decrease, and you may not be able to evade. The weight of your equipment is determined by the sum of your armor and weapons, and the upper limit of your equipment weight can be increased by raising your Endurance status. If you have light equipment, your evasion performance will increase greatly, but the damage you take will also be higher. In the early stages of the game, until you have the right equipment, it is best to keep the weight to a minimum.
Required Ability Value
Weapons, magic, and prayer each have a required ability value to be used. If you do not meet this value, the attack power of the weapon will be greatly reduced and you will not be able to draw out the true power of the technique. Magic and prayer cannot be activated themselves, so be sure to check the required ability values before equipping or setting sorcery or incantation. If there is something you want to use, one of the growth strategies is to set the status to the required ability value.
Ability correction
Some equipment has an effect called "Ability Correction", which corrects the weapon's attack power according to the main character's status value. There are six levels of correction, from S to E. The closer you get to S rank, the more correction is applied to the ability value. Since each weapon has a different status, you can decide which weapon you want to use when you level up. Incidentally, you can also change the ability compensation by strengthening the weapon.
Additional effects
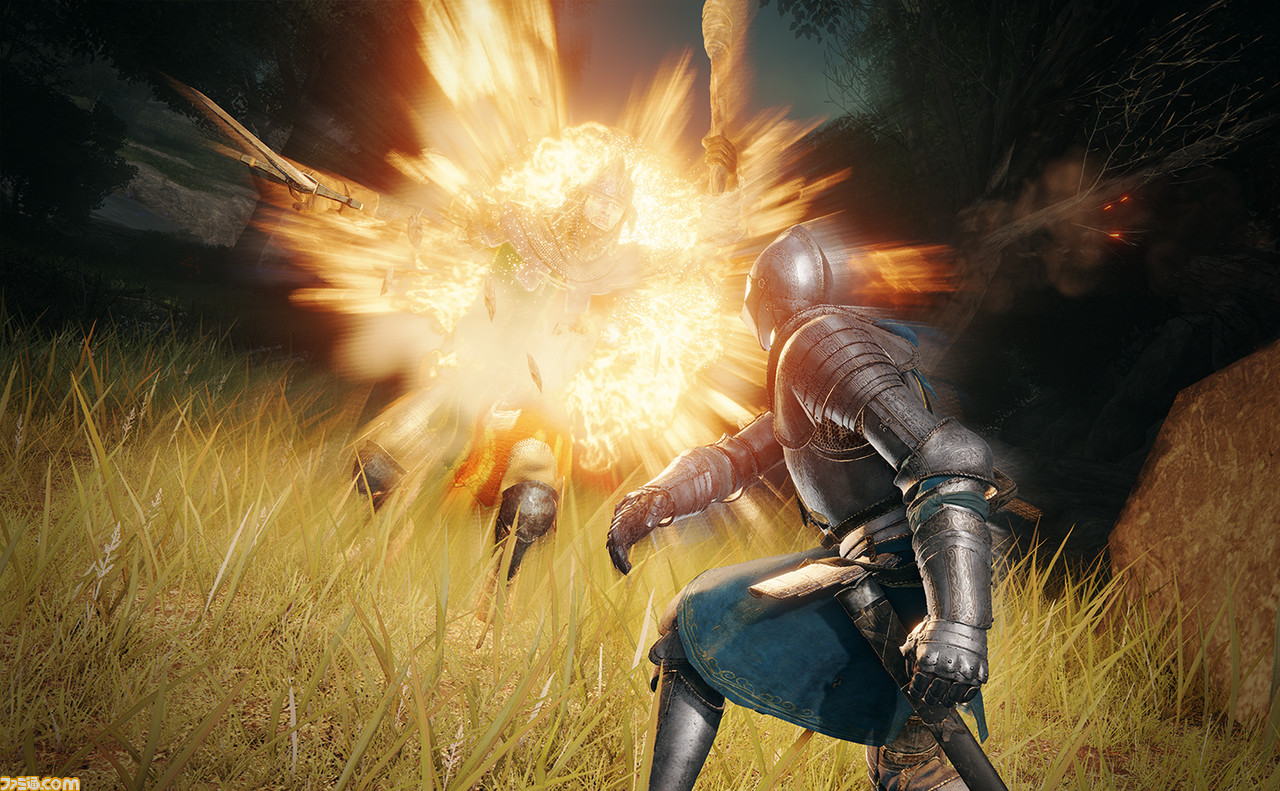
Some of the weapons in the game have abnormal effects, such as poison, bleeding, and cold. If you continue to deal damage with that weapon, the target will fall into an abnormal state. This is an incidental effect. In addition to specific weapons, customizing your battle ashes can also give you incidental effects. Especially in battles with bosses or large enemies with a lot of HP, the incidental effects can really come into their own. If you pay attention not only to the power of the weapon, but also to the supplementary effects, you will be able to expand your tactics.
status ailment
When the tarnished's status ailment gauge is filled to the maximum, he will be subject to state abnormality effects. There are various factors that can cause the gauge to accumulate, such as stepping into a poisonous swamp or being hit by an enemy's poisonous breath. Basically, it's just a matter of not letting the gauge build up to its maximum, so if you're walking along and see the gauge for a condition abnormality appear, leave the area immediately.
Some spots are unavoidable, so use items or change your equipment to increase your resistance to abnormalities while adventuring. Rest with a blessing without straining yourself. This is one of the most basic rules of travel.
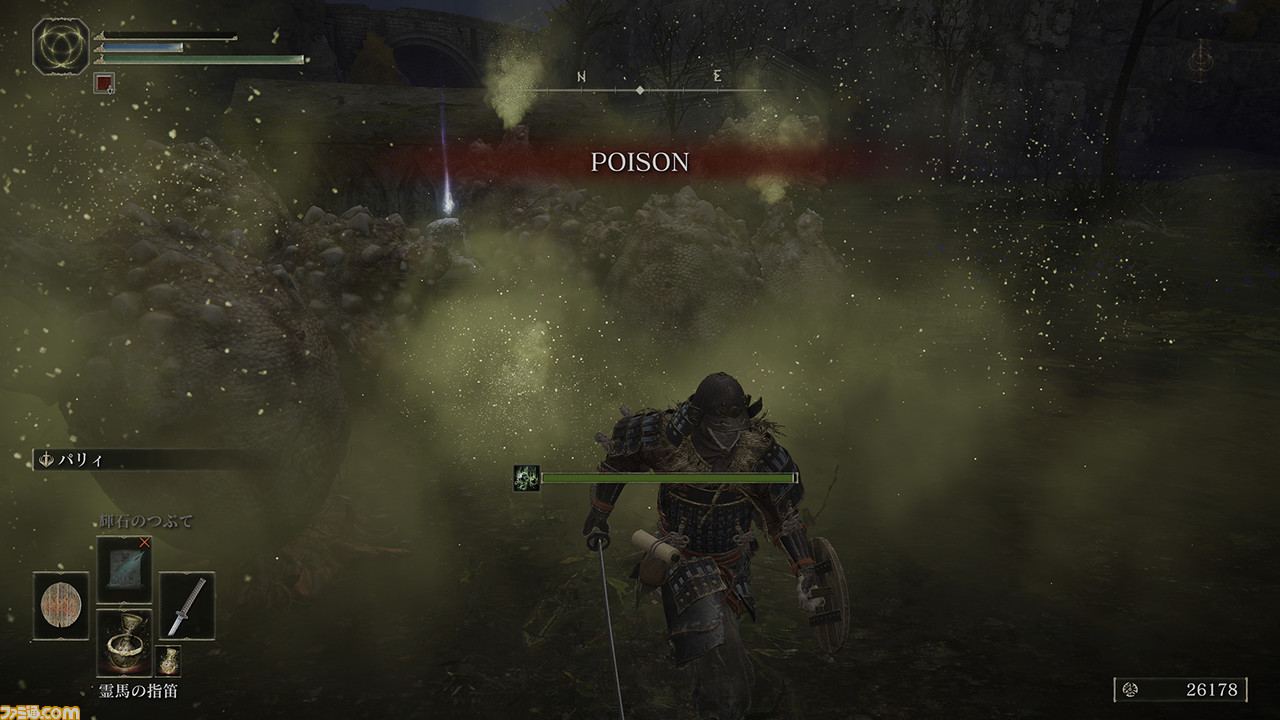
- POISON: If you become poisoned, you will take continuous damage over time. Note that it can be caused by traps as well as terrain.
- SCARLET ROT: Different from Poison, you will take continuous damage over time. It is often triggered by an enemy attack.
- BLOOD LOSS: You take heavy damage based on your maximum HP. This is also effective against enemies, and is one of the state abnormalities you should aim for, especially against bosses.
- FROSTBITE: While taking a small amount of damage, the damage taken by the main character will increase for a certain amount of time. This is a very dangerous condition if left untreated.
- SLEEP: When you fall asleep, you fall asleep on the spot and are completely defenseless for a certain amount of time. It can be broken by an attack.
- MADNESS: You take heavy damage to your HP and FP. This is not an effect that will kill you instantly, but it does reduce your FP significantly and limit your movement.
This is a brief explanation, but just by keeping these basics in mind, you should be able to enjoy not only exploration and combat, but also more in-depth role-playing. It is up to the player to decide how to make the most of this information. Let's enjoy an adventure full of excitement!
This article is an English translation of an article from Famitsu.com which is distributed on a trial basis. The article prepared in Japanese based on information in Japan has been automatically translated using the "DeepL" translation tool. For inquiries regarding the translated English article, please use the "Inquiry Form". Please keep in mind that inquiries will only be accepted in the Japanese language.